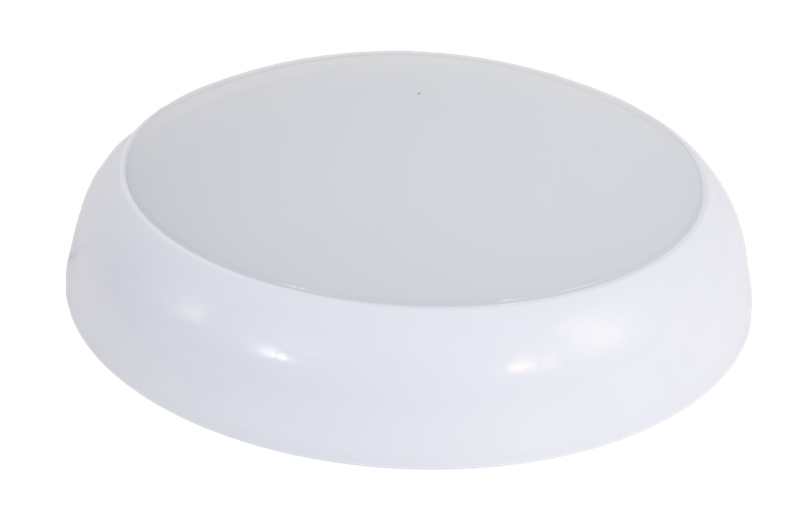
How To Attach Light To Ceiling
Installing a Ceiling Light is a practical way to enhance both the functionality and aesthetics of a room. Whether you’re replacing an old fixture or installing a new one, the process requires careful planning, the right tools, and strict adherence to safety protocols. This guide provides a detailed, professional approach to help you securely and safely attach a light fixture to your ceiling.
Tools and Materials You Will Need
Before starting, gather the following items:
New light fixture
Voltage tester
Screwdrivers (flathead and Phillips)
Wire strippers
Wire connectors (nuts)
Ladder
Electrical tape
Ceiling box (if not already installed)
Mounting hardware (usually included with the fixture)
Safety gloves and glasses
Step 1: Turn Off the Power
Safety is paramount when working with electricity. Go to your circuit breaker panel and switch off the power to the room where you’ll be working. Use a voltage tester at the ceiling electrical box to confirm that no power is present. This step prevents the risk of electric shock.
Step 2: Remove the Old Fixture (If Applicable)
If replacing an existing light, unscrew the canopy or cover to expose the wiring. Disconnect the wires by unscrewing the wire connectors and separating the wires. Remove the old mounting bracket and carefully take down the fixture.
Step 3: Inspect the Ceiling Box
Ensure the electrical ceiling box is securely mounted and can support the weight of your new light. If it’s loose, tighten the screws or replace it with a more robust option. For new installations, you may need to install a ceiling box approved for your fixture’s weight.
Step 4: Install the Mounting Bracket
Most light fixtures include a mounting bracket. Attach this bracket to the ceiling box using the provided screws. Make sure it is firmly secured and level.
Step 5: Connect the Wires
Carefully connect the wires from the ceiling to those of the new fixture. Typically:
Black (or red) wire from the ceiling → Black wire from the fixture (hot)
White wire from the ceiling → White wire from the fixture (neutral)
Green or bare copper wire → Ground wire or grounding screw
Use wire connectors to join the wires, ensuring no bare wire is exposed. Wrap the connections with electrical tape for added safety.
Step 6: Attach the Fixture
Lift the fixture and align it with the mounting bracket. Secure it with the included screws or nuts. Be cautious not to pinch the wires during installation.
Step 7: Install Bulbs and Covers
Once the fixture is mounted, install the light bulbs according to the manufacturer’s recommended wattage. Attach any shades, globes, or decorative covers.
Step 8: Restore Power and Test
Turn the power back on at the circuit breaker. Test the light with the switch to ensure it operates correctly. If it doesn’t light up, turn off the power and recheck the connections.
Additional Tips for Success
Always follow the manufacturer’s instructions for your specific light model.
If you are unsure about any step, consult a licensed electrician.
Use a ladder with stability and work with a partner if possible for safer installation.
By following these steps, you can achieve a professional-looking installation that is both safe and reliable. A well-installed ceiling light not only illuminates your space effectively but also adds a touch of elegance to your home.